

.svg)

.svg)

.svg)


-2.svg)


Have you ever wanted to view all invoices for a specific client, or see all the work in progress for a specific account manager? Well you can – and more – by using the WorkflowMax data filters feature.
You can create filters, for not only your clients and work in progress, but for invoices and quotes as well. These filters allow you to select and display subsets of your data in ways that make it far more accessible and useful.
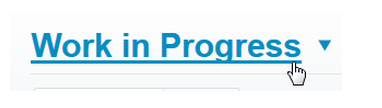
Under the Clients or Business menu, you'll see that the default filter page titles are All Clients, All Invoices, All Quotes and Work in Progress in blue text with a drop-down arrow to select the filter to use.
What is a filter?
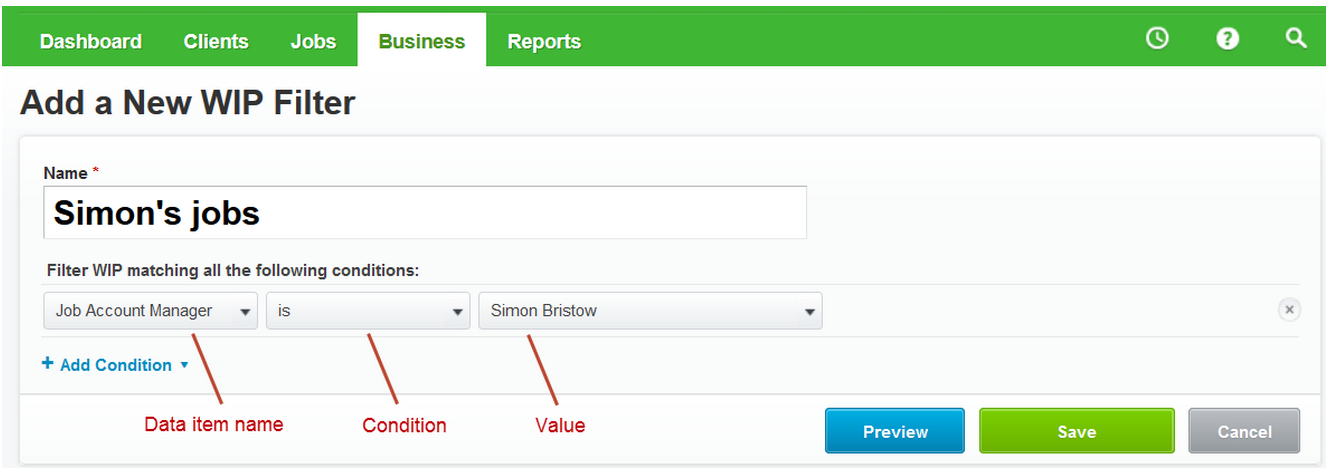
A filter contains at least one 'condition statement' that is used to match information in your database. In this work in progress (WIP) example below, you can see the three parts of a simple condition statement: a data item name, a condition and a value to match the data item against.

And you're not limited to one condition statement in a filter – the more statements you add, the more specific the data match. For example, you could click the + Add Condition link to add another condition statement – limiting the search to a single client.

Because the three parts of a condition statement are usually drop-down lists, it's easy to see what options are available in each case. One of the most useful options is Any Text, which searches all text fields in the invoices, quotes or WIP records that you are viewing.
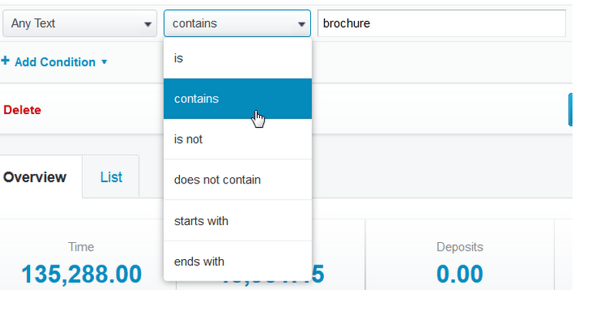
The search is not case-sensitive, so 'brochure' in the above example will match data records that contain 'Brochure' or 'BROCHURE' as well.
Creating a filter
It's easy to create a new filter for your invoices, quotes, clients or WIP. Go to the appropriate screen, and select + New Filter in the page title drop-down list. On the Add a new … filter screen, provide a name for the new filter, then select the data item name, condition and value to search for. Preview to check that the filter is working as required and make changes if necessary. Add further conditions if required, previewing as you go. When you're happy that the filter works as you want, just save it. The new filter becomes the default title for the page, until you select a different filter from the drop-down list.
Need more information?
This article is intended to give you a brief overview of the power of WorkflowMax filters, but for further details on creating and using filters, watch the WorkflowMaxTV video on Filters (1 min. 23 sec.). If you need step-by-step instructions, go to the WorkflowMax Support Centre topic on Filters.