An area often under utilised within WorkflowMax is Job Folders.
Job Folders are a great way to split larger jobs up into smaller parts so that you can maintain visibility over a sub-section of a job, or indeed a variation to a job. As an example let's say you are an advertising agency and you have a re-branding project underway. As part of the project you need to complete a new logo, business card, and brochure. You could choose to set up each as different jobs and manage them individually, or you could look to include them all under the same job, but use Folders to group the relevant parts together. Let's take a closer look...
I have setup a series of tasks for each element of the job, and added labels to each task in order to differentiate them between each piece of work on this project:
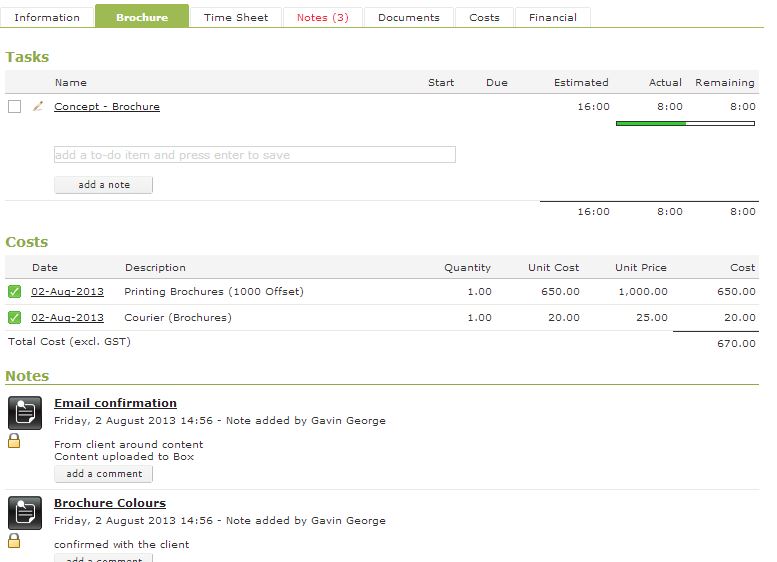
I have also accumulated various cost items and also notes related to the different parts of the job:
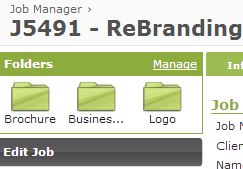
So we now have a bunch of information on the job related to three different components on the job. This is where Folders come in to help you organise the job into more manageable pieces. On the left hand side of the job you will see a section that says Folders and a button that says 'Manage'. Click this button:
You will be presented with the Manage Folders screen, whereby you can create a new folder name, save it, and then select each of the tasks, costs, notes and documents you would like to group within that folder:
Once you complete the folder creation and the allocation of elements into each folder you will see a list of all of your folders on the left hand side of the screen:
Clicking on a folder will display all of the elements of that folder in the one place to make it a lot easier to gain transparency over how a specific sub-part of the job is progressing:
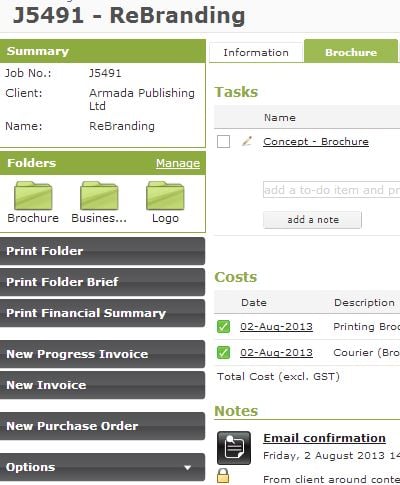
Now with the information consolidated together you have some real power. You are able to invoice just the elements of the folder you are viewing, print out the contents of a folder and review the profitability of the folder in isolation from the overall job using the various functions on the left hand side of the screen when viewing a folder:
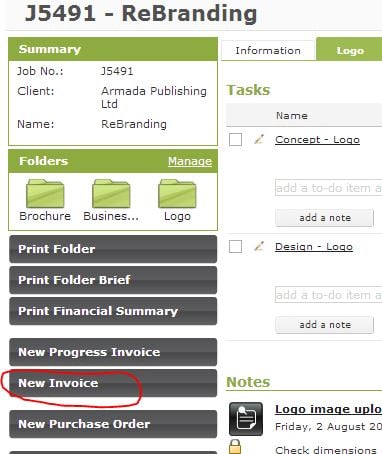
To take the example further. Let's say that we had completed the Logo redesign and we now wished to invoice for that component of the overall job, you would click on the 'Logo' folder, and then from within the folder click the New Invoice button:
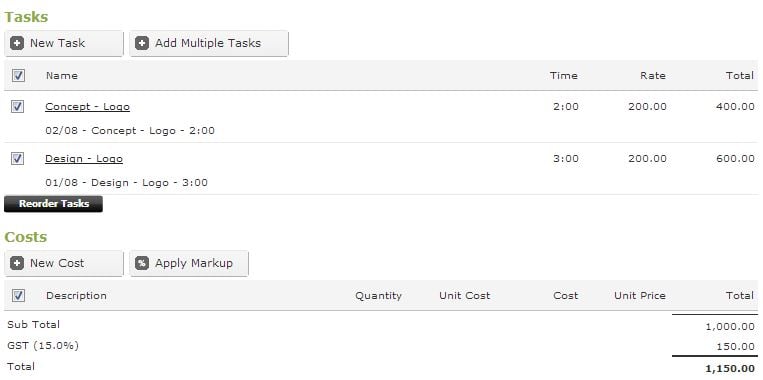
The invoice will be created with just the contents of this folder:
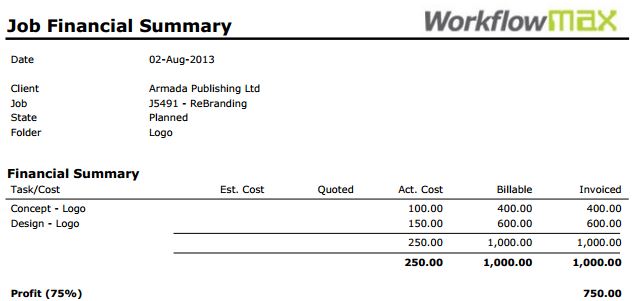
Just as importantly we can review the profitability of the logo portion of the job by clicking the Print Financial Summary button on the left hand side:
We would love to hear how you are using folders in your business, so please share with us. And for everyone who hasn't yet experimented with folders in your project management system, please do give it a go and let us know how you get on.


